|
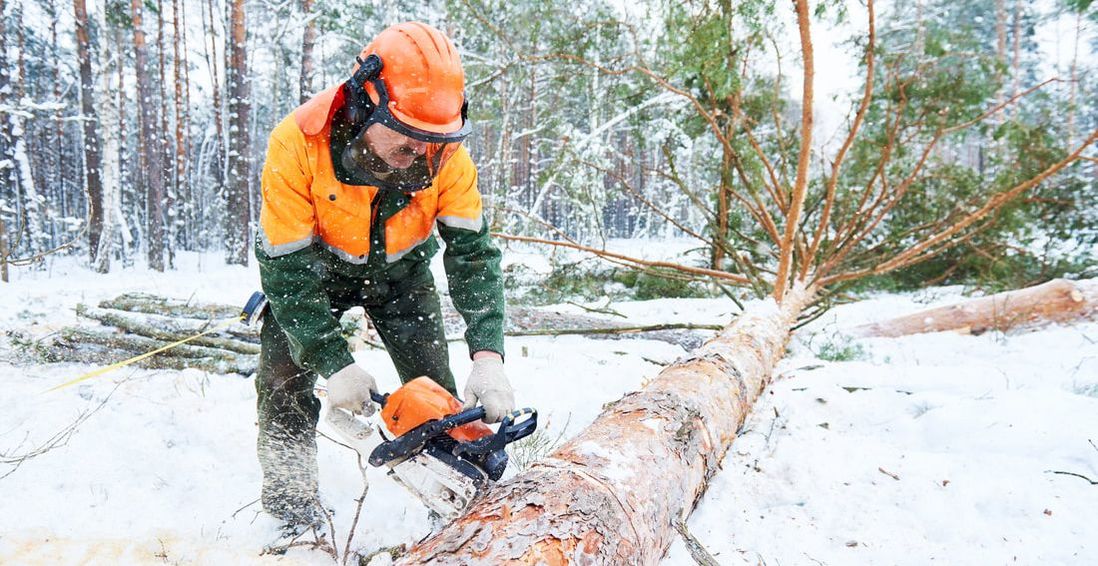
During the winter, the only tree removal you might be thinking about is cutting down your fir or spruce tree. Though, if there’s a tree in your outdoor space that’s dead or diseased, now is the time to get rid of it. You don’t want it falling itself during a winter snow storm and destroy your property. There are many other reasons why you should remove trees in winter.
Slow Season During the winter, you won’t find as many people walking, hiking, or camping in any space around your home. This makes it easy to remove trees. Your loved ones are warm and safe inside and not in the yard while a tree is being cut down. No Leaves, No Problem After the fall, the lack of leaves makes it simple to see what limbs to cut. Also, arborists have a better view of the trunk to the top. There’s little clean up when the leaves are already gone. Take Out the Big Equipment Once the ground gets hard in winter, it’s simple for machinery and large trucks to arrive at the space that the tree removal is to take place, unless the area is blanketed with snow. You might have to wait for the earth to soften to do a stump removal job. Well, you don’t have to worry about a dead tree falling when it’s not supposed to in adverse weather. Benefits of Winter Tree Removal In addition to controlling the risk of harm done by falling trees and hanging limbs, removing trees in the winter can be done without severely impacting the rest of your garden and yard. Come spring, the plants and grass will grow back, and the hazardous tree is gone. Lesser Diseases, Faster Recovery Winter is good for pruning and general tree maintenance. There are more minor diseases to get into open cuts in the bark. Also, trees are dormant in the wintertime. Any wounds from pruning won’t be visible until spring. If you have a tree you need to be removed in the winter, contact a tree removal business and arrange to have a consultation. Pay attention to these suggestions and your trees will stay at a manageable height while producing lots of fruit. Arborists help homeowners to see it isn’t hard to care for fruit trees.
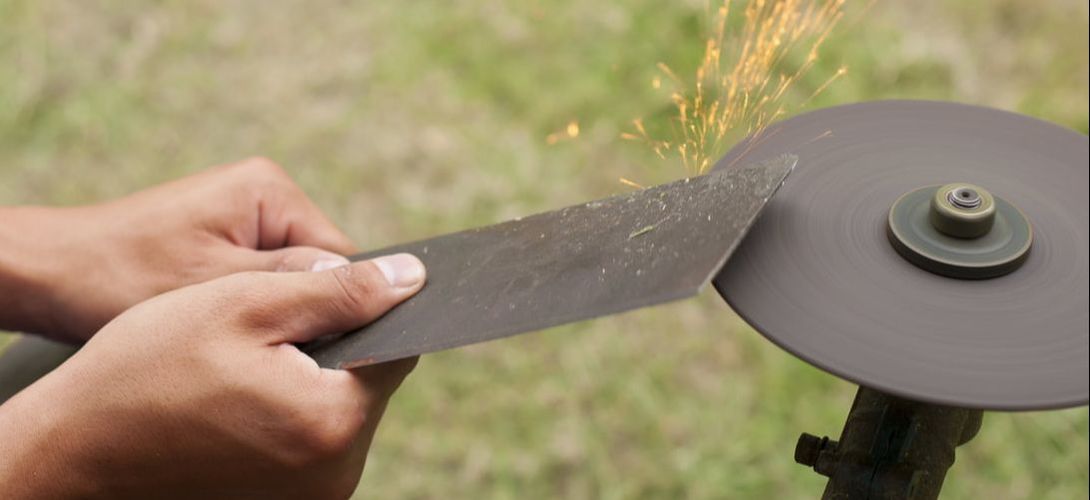
Keep the Soil Moist with Water Before planting a fruit tree, you should soak its root ball in the water, completely saturating it. After planting, soak the roots with your water hose. After the first watering, take a look at the soil’s moisture level using a moisture meter to decide how often and how much to irrigate, which varies depending on the season. At sunrise, water your fruit tree from the drip line out, standing one to two feet away from the tree until the meter says moist. Mulch for Beneficial Bacteria Putting some mulch around the bottom of your fruit tree does more than regulate moisture and soil temperatures while blocking weeds. The right kind of mulch can enrich the biodiversity in the soil, which encourages root growth. Make sure the mulch is six to eight inches away from the bark to deter decay. Change the Fertilizer You should use specific fertilizer formulations according to what you want from the tree. There is a fertilizer that is used to help your tree grow to a mature height and another one for producing fruit. Also, make sure to prune your fruit tree, preferably in the wintertime. Once the tree reaches a height that’s easy to handle, change to a fertilizer that sustains developing fruit, roots, and flowers. Use a blend that contains a nitrogen level that is two or three times lower than the potassium and phosphorus. This way, you don’t have to waste time trimming unwanted growth. Prune for Shape You can control the size of your by cutting off any limbs that go beyond the traditional habit. This is also the time to spray the tree with a hose fitted with a high-pressure sprayer. The burst of water is enough to clear scale, dust, cobwebs, and aphids. The good thing is it won’t damage your foliage. If you need help in maintaining your fruit trees, ask a tree service company. With long-term usage, the spinning blades beneath your mower become ow dull. This can cause them to tear the grass, rather than to cut it smoothly. This gives your lawn a raggedy look as well as making it more vulnerable to disease. Unless your blade is very damaged, to sharpen your mower blade necessitates some elbow grease and a few fundamental tools.
Sharpening Your Blades Preparation 1. Disconnect the power source and spark plugs. A mower can cause serious harm if it starts while you are working on it. Always cut off the power before taking apart your mower. The spark plug can be disconnected by detaching a prominent wire on the front or side of the lawnmower engine from its metal mounting. Once separated, the engine shouldn’t be able to cut on. For safety reasons, it's recommended you wear eye protection and heavy gloves during this job even if you're sure the spark plug is disconnected and cut the power off. 2. Put the mower on its side with its carburetor facing upward. To get to the mower blades, it has to be on its side. Though, due to the location of the mower engine, flipping the mower over could make the engine oil run into the air filter and carburetor So this doesn’t happen, make sure you turn the mower so that these are facing upward instead of downward. The air filter and carburetor on most contemporary mowers are typically located in a boxy plastic case on the engine’s side. If you’re not sure where these parts are on your mower, check your owner's manual, call your manufacturer, or get in touch with a tree care company. As more protection against spilling, you can pour the oil into another container or operate the mower until it's out of gas. This task is also an excellent time to check your oil and change it if needed. It's suggested you change your oil every year. 3. Mark the side of the blade that is facing downward. A common mistake made when sharpening a mower blade is to put it back in upside-down. If this happens, the blade will not cut the grass, regardless of how sharp it is. To get out of the extra effort used in removing and installing the blade again, make a clear marking on the bottom side of the blade before taking it out to sharpen.  If you have a recently built house, you could have compacted soil in spots where you want to put a garden or landscape. Usually, topsoil is put around new construction areas and intended for future lawns. Though, underneath the layer of topsoil, there might be highly compacted soil. Read this article to learn how to know if your soil is compacted. Identifying soil compaction in pastures is down by analyzing the symptoms of the root, soil, and tree. Measurements of soil strength help quantify restrictions and verify if other constraints like soil salinity or soil acidity are present. For an accurate analysis of your lawn and trees, contact an arborist. Soil Compaction Information Soil that is compacted doesn’t have the porous spaces for oxygen, nutrients, and water that trees require to live. Soil compaction is typically caused by urban development. Sometimes, though, it can be brought on by heavy, hard rains. Areas that have been trampled on by heavy equipment like hoes, tractors, trucks, farming equipment, construction equipment, combines, trucks, or backhoes will typically have compacted soil. Even areas that get plenty of foot traffic from animals or humans could have compacted soil. Knowing the area’s history can assist when verifying soil compaction. Is my soil too Compacted for Gardening? Some compacted soil signs:
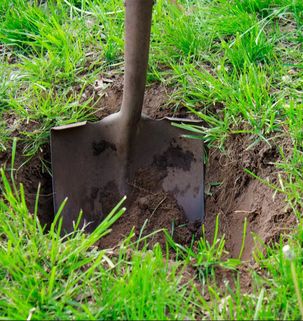
In the early spring, you can test for soil compaction when moisture in the soil is at its peak. While there are pricey tools you can buy to check for compacted soil, these aren’t always worth the price. A strong, lengthy metal rod is what you truly need to determine if you have compacted soil. With a steady hand, push the rod into the space in question. The rod must go in a couple of feet in healthy, ordinary soil. If the rod won’t penetrate or only penetrates just little but then suddenly stops and can’t be pushed down anymore, you have soil compaction. |
AuthorWe at Syracuse Tree Service want to help you with your tree service needs, our blog is where we provide helpful tips and ideas for the health of your trees. Archives
December 2020
Categories
All
|
- Home
- Services
- About
- Contact
-
Service Locations
- Liverpool Tree Service
- North Syracuse Tree Service
- Cicero Tree Service
- Baldwinsville Tree Service
- Manlius Tree Service
- Weedsport Tree Service
- Clay Tree Service
- Bridgeport Tree Service
- Lafayette Tree Service
- Fayetteville Tree Service
- Chittenango Tree Service
- Camillus Tree Service
- Onondaga Tree Service
- East Syracuse Tree Service
- Blog
|
Home | Services | About Us | Contact Us
Liverpool | North Syracuse | Cicero | Baldwinsville | Manilus | Weedsport | Clay | Bridgeport | Lafayette | Fayetteville | Chittenango | Camillus | Onondaga | East Syracuse © Syracuse Tree Care 2017
Syracuse Tree Care 4736 Onondaga Blvd Suite 112 Syracuse, NY 13219 (315) 692-0186 |
|


 RSS Feed